Yesterday I saw lots of pics of gorgeous burlap wreaths on
Pinterest. However, most pictures were linked to wreaths for sale on Etsy and didn't give directions on how to make them. $70 for a burlap wreath? Um. No ma'am.
I thought, "How hard can it be?" So off to Michael's I go. I found some burlap garland at in the wreath-making supplies, but you could easily cut strips of burlap fabric. I'm all about saving some time, so I decided to use the garland. I also looked at the wreath forms and figured I'd just use a stretched out metal coat hanger and thread it through the burlap to form a "wreath".
Supplies Needed:
- 2-3 rolls of burlap garland (Michael's). I used 2, but I think 3 would be better.
- Metal coat hanger-stretched out and formed into a circle
- Decorations such as ribbon, ornaments, dried flowers, etc.
- Floral wire or hot glue to attach decorations
- Wreath hanger
Directions:
- Stretch out the metal coat hanger and form into a circle.
- Started folding burlap garland accordion-style about every 2-3 inches. This doesn't have to be exact.
- Once you've finished the folding the roll, secure with a rubber band. This makes it easier to work with and "trains" the burlap into the desired shape.
- If you notice in the picture below, I'm sitting with part of the hanger UNDER my leg to stabilize the it. This makes it a lot easier to manipulate the burlap onto the hanger. The hanger will have a "C" shape.
- Start threading the burlap onto the hanger.
- You don't have to be precise (i.e. thread it in the same spot for each fold or make it 2-3 inches each time).
- Another tip: Leave about 6 inches free at the end of the hanger (see below) . Use that length like a needle to push through the middle of each fold. Once it's "full", push the fabric down to allow for more threading.
- Keep threading until you finish the first burlap roll, then continue with the second and/or third roll.
- Here's the fun part....twisting the ends of the hanger together to form a circle. This might be where you bat your eyelashes and ask your husband or boyfriend for help:-) Be careful when twisting. The ends of the hanger can be sharp.
- Once the ends are twisted, fluff the burlap and continue to shape the hanger into a circle until you are satisfied with the shape and fullness.
- TA-DA! Pretty cool, huh? I love how organic and versatile burlap is. However, I SHO' NUF DON'T like how stinky it is. And that, my friends, is why it will go outside.

Here are some ideas on how you can decorate the wreath.
*I already had all the decorations in my holiday decorating stashes and floral arranging supplies.
 |
Fall leaves tucked in the wreath
|

Crow with gauzy fabric
 |
| Styrofoam skull, gauzy material, and part of last year's broken Halloween sign |
 |
| Close-up |
 |
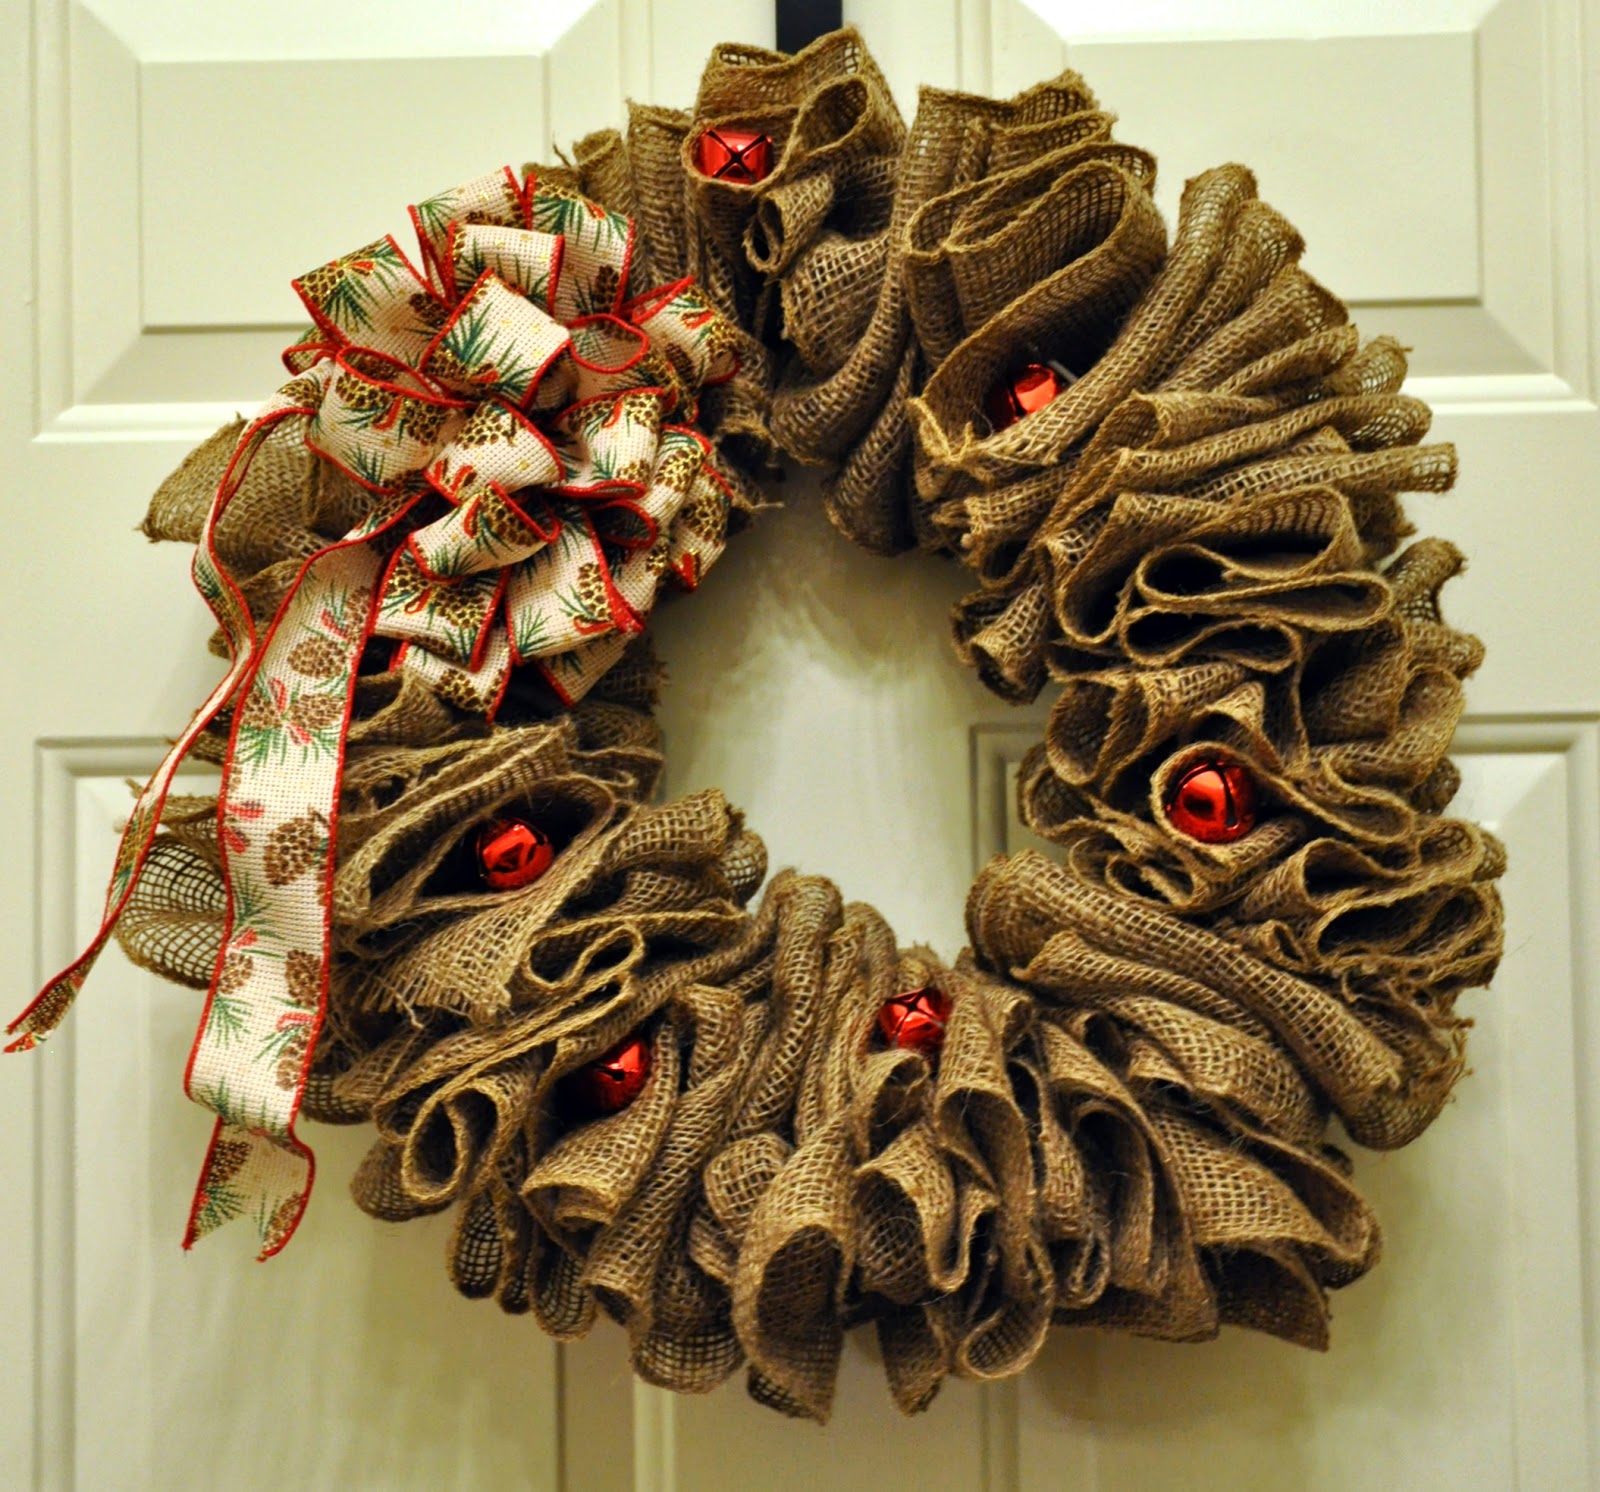
| Christmas Ribbon with Red Bells |
 |
Top Left-concrete mushrooms, Top Right-Gauzy Fabric and Faux Coral
Bottom Left- Plain w/red ribbon, Bottom Right-Feather & succulents |
Let me know if you make one! I'd love to see pics!




 Posts
Posts


